Surveillance – How To
How to Search for Events
Systems and steps may vary from Recorder to Recorder but will be similar.
- 1. On the home menu select search.

- 2. Select Event, this will bring you to a menu with settings allowing you to specify the date, time and camera the event happened.
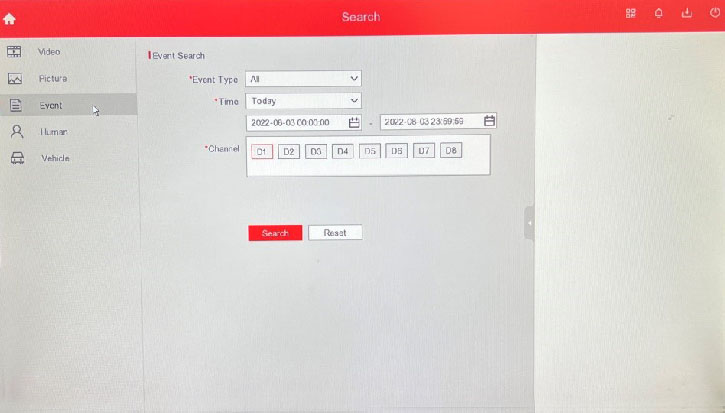
- 3. Once these options have been changed select search and you will be presented with a list of events related to your changes.
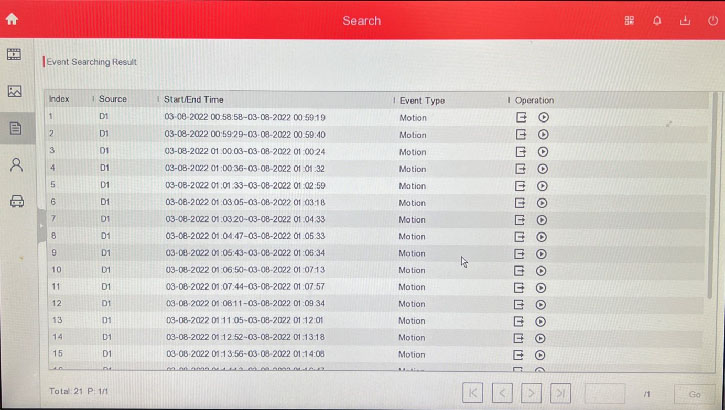
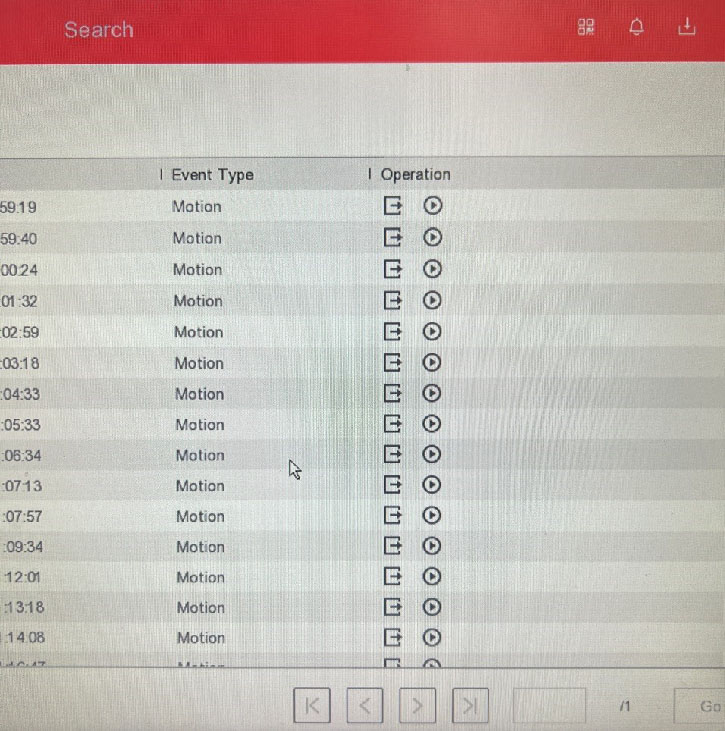
- 4. From this screen you can choose to save the event to external storage or view the event using the operation icons. (Square icon is save, Circle is to view)
How to Save Footage to USB
Systems and steps may vary from Recorder to Recorder but will be similar.
- 1. Plug USB stick into NVR.
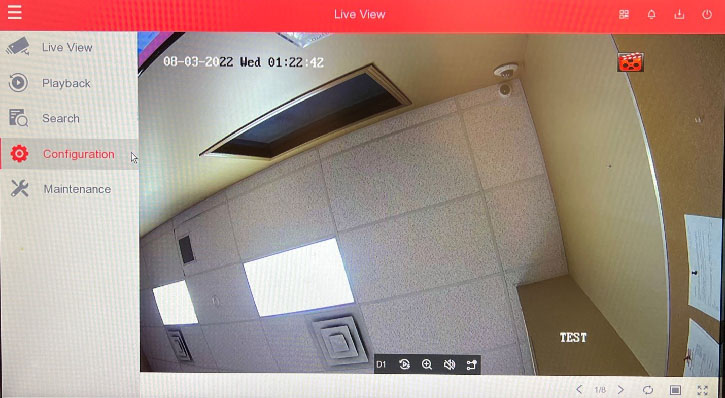
- 2. Right click screen and select playback. (May require password or pattern)

- 3. From playback screen select the camera you are retrieving footage from.
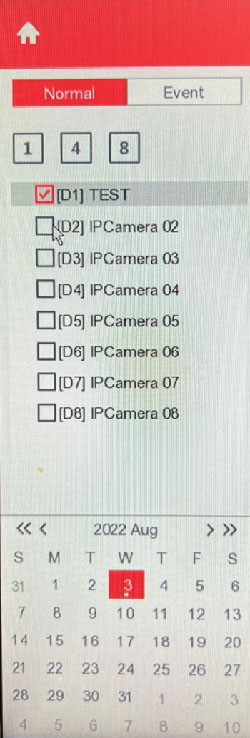
- 4. Select the date on the calendar. (refer to photo above)
- 5. Select the time you want the recording to start using the timeline bar.

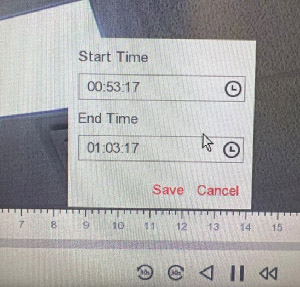
- 6. Select the clipping tool (Scissors Icon.)

- 7. A small menu will show up allowing you to select the start and end time of the clip needed then select save.
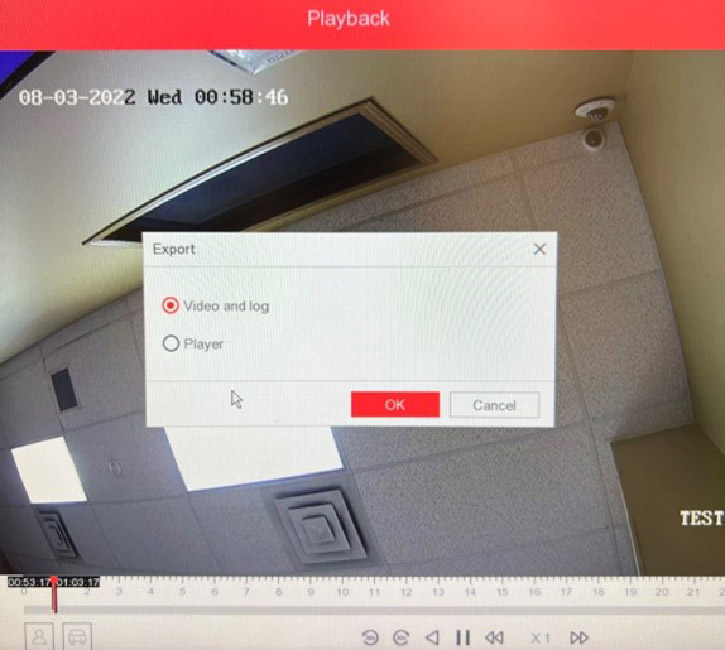
- 8. On the next pop-up select video and log then click ok.
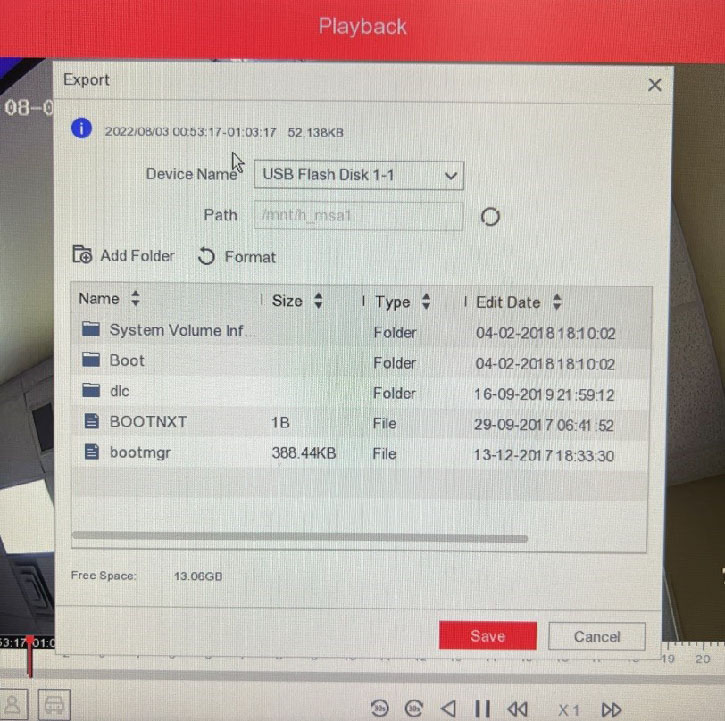
- 9. This will bring you to a screen that will allow you to select your USB device as storage.
Live View Options
While viewing your cameras live you will have a few options on how to view your cameras.
Single Screen will allow for a full screen view of one camera so you can view it in more detail.
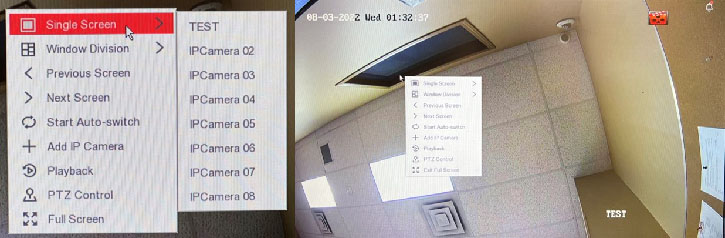
Window Division will allow for you to have multiple cameras available for view in multiple different ways such as a 2 by 2 grid for 4 cameras or higher counts for even more cameras in different viewing scenarios.
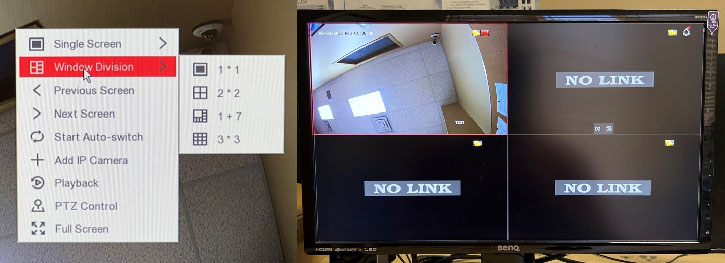
Previous Screen and Next Screen will allow you to switch screens if you have more cameras than can be fit on the screen. Auto-switch will allow for the screen to change cameras and grids automatically if turned on.
How to Setup Camera Motion Boundaries
Systems and steps may vary from Recorder to Recorder but will be similar.
- 1. Select Configuration > Camera > Event. This will bring you to a screen showing your camera feed with a grid overlay.
-
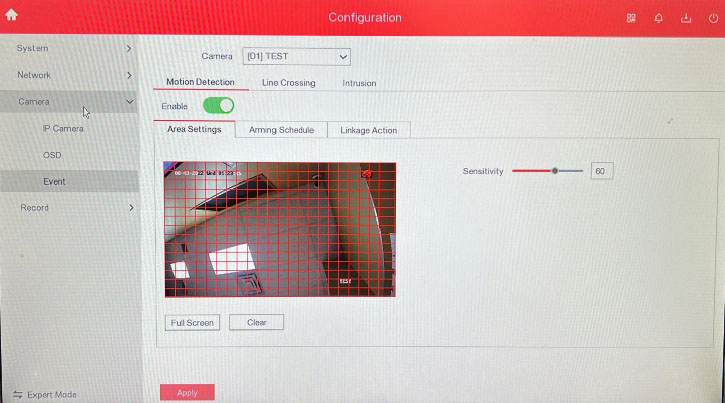
- 2. On the grid you can individually click squares or click and drag to select multiple squares to remove and add areas onto the camera to change where motion detection will work.

- 3. Changing the sensitivity slider will change how many squares will have to detect motion before motion is recorded.

- 4. Select Apply to confirm changes.
Need More Info? Want a Demo? Request a free quote.
For more Information, please contact Ken Moen at www.certifiedalarms.ca or call (403) 253-7820
Demos are available by appointment only. Please call (403) 253-7820 or email sales@certifiedalarms.ca to book.